

/06 Author: Maya S
During our search for Nina, we discovered that she would enhance the narrative and ambiance more if her character were more stylized, specifically drawing inspiration from the ‘Lofi girl’ aesthetic. To bring this vision to life, we initiated the creation of a custom rig.
Building a Face with Facebuilder
The first step was to get a foundational facial structure. During our research, we came across a fascinating video showcasing the transformation of AI images into animated 3D characters.
> Turn AI images into 3D Animated Characters.
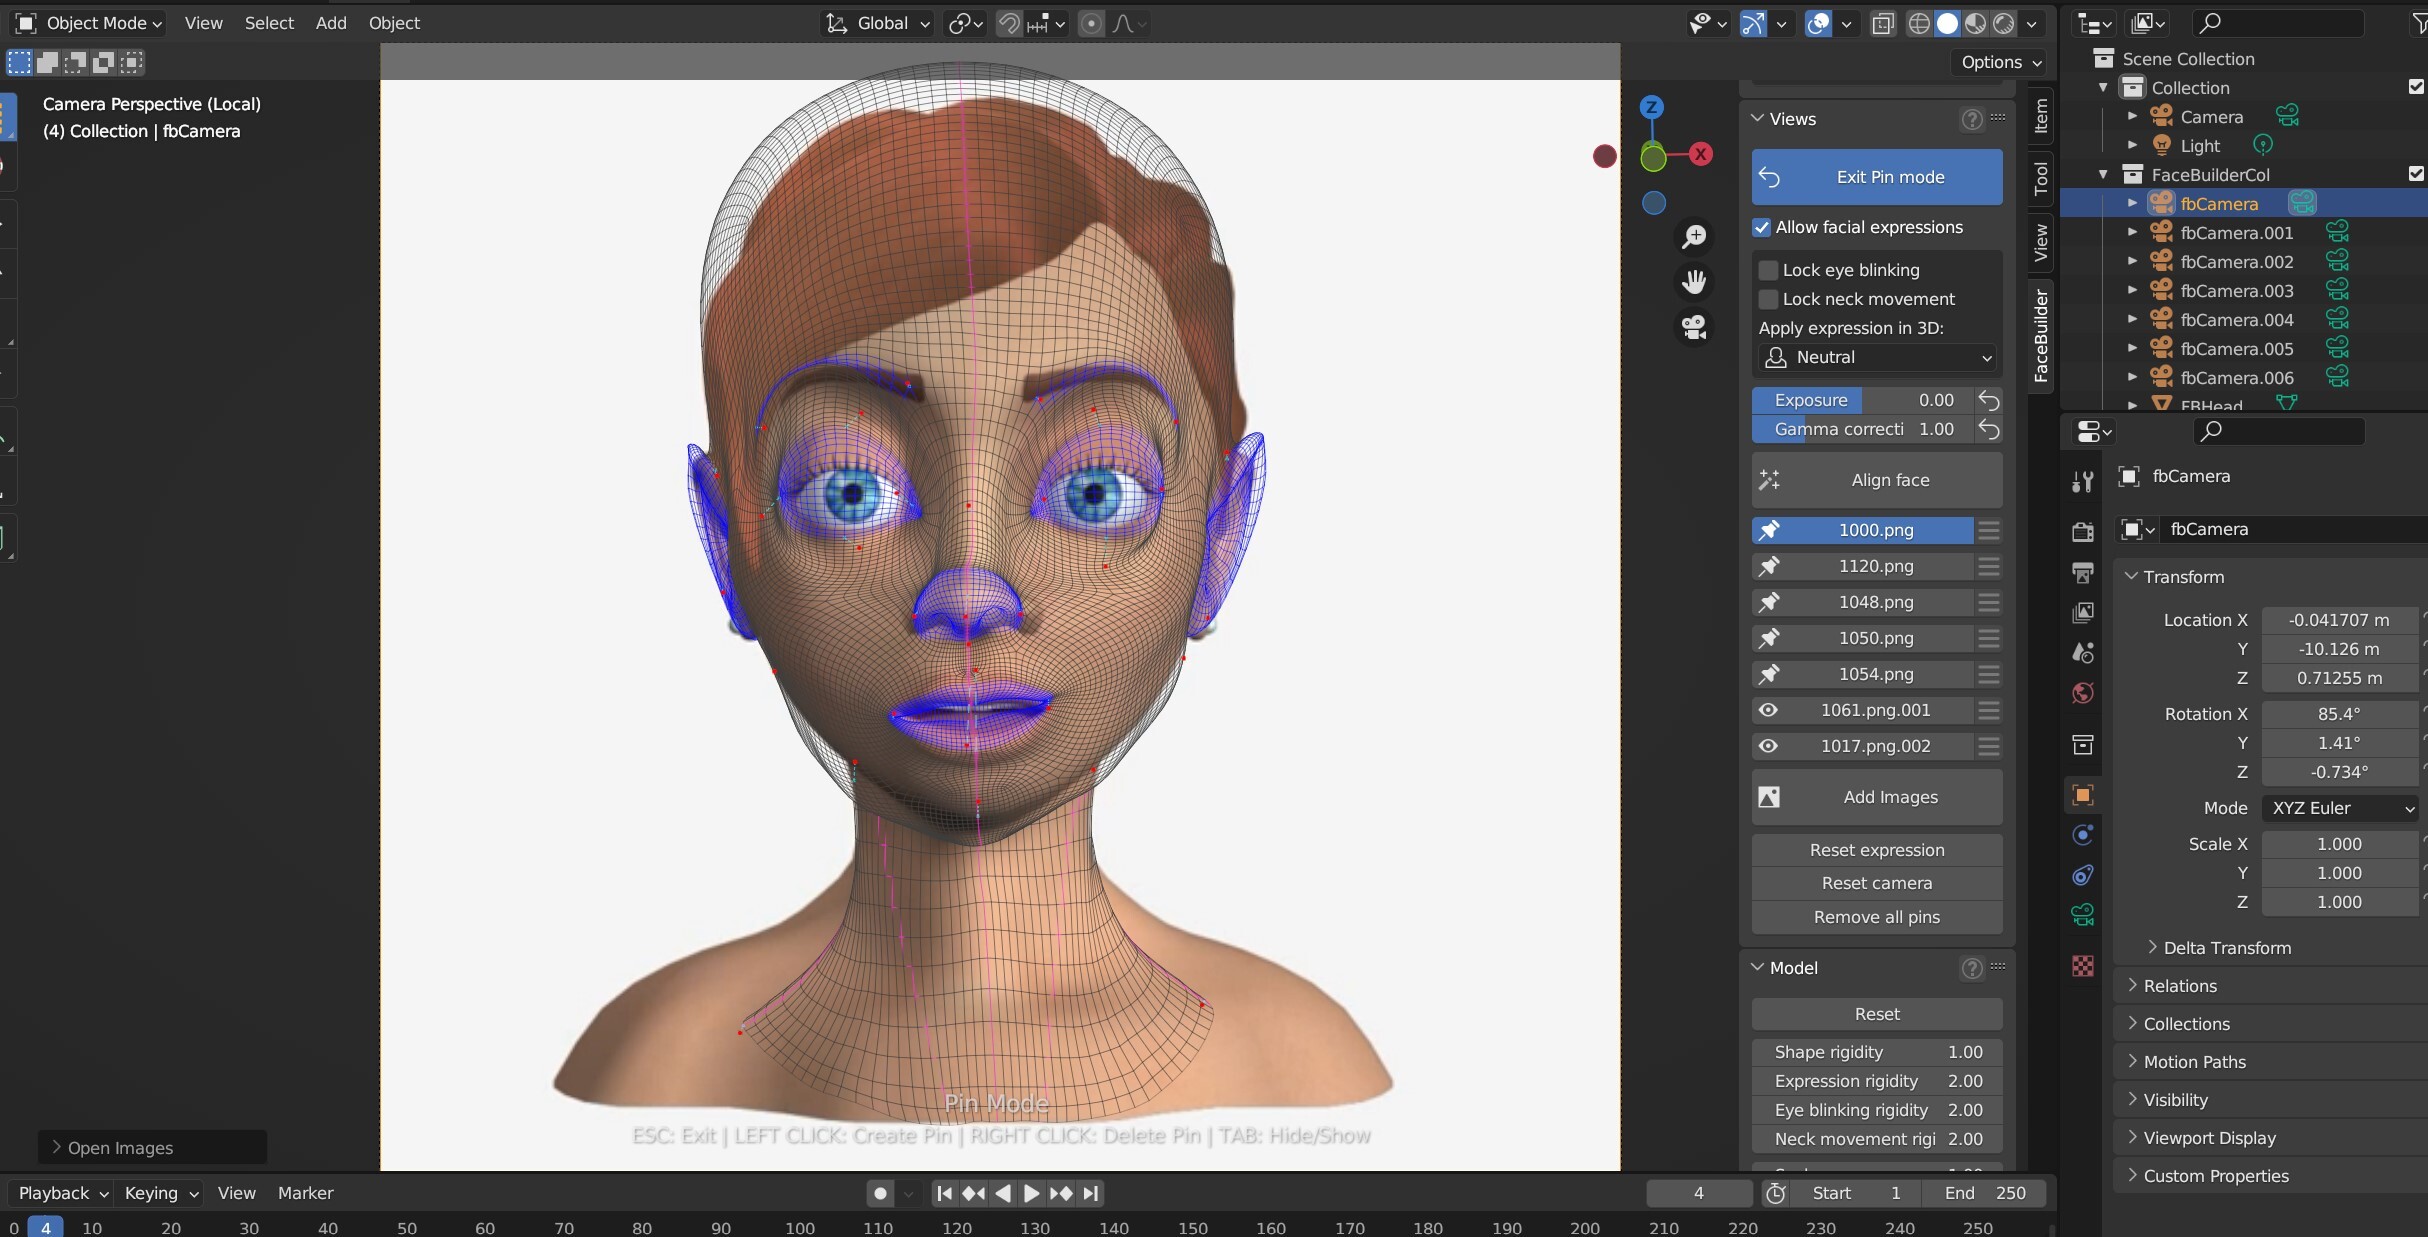
This conversion to 3D is accomplished by utilizing ‘Facebuilder’, a plug-in for Blender, allowing users to construct a 3d model of a head based on blending a set of reference pictures taken from various angles of a face. Considering the potential value of this technique for our character creation, we decided to incorporate it into our workflow.
Reference pictures
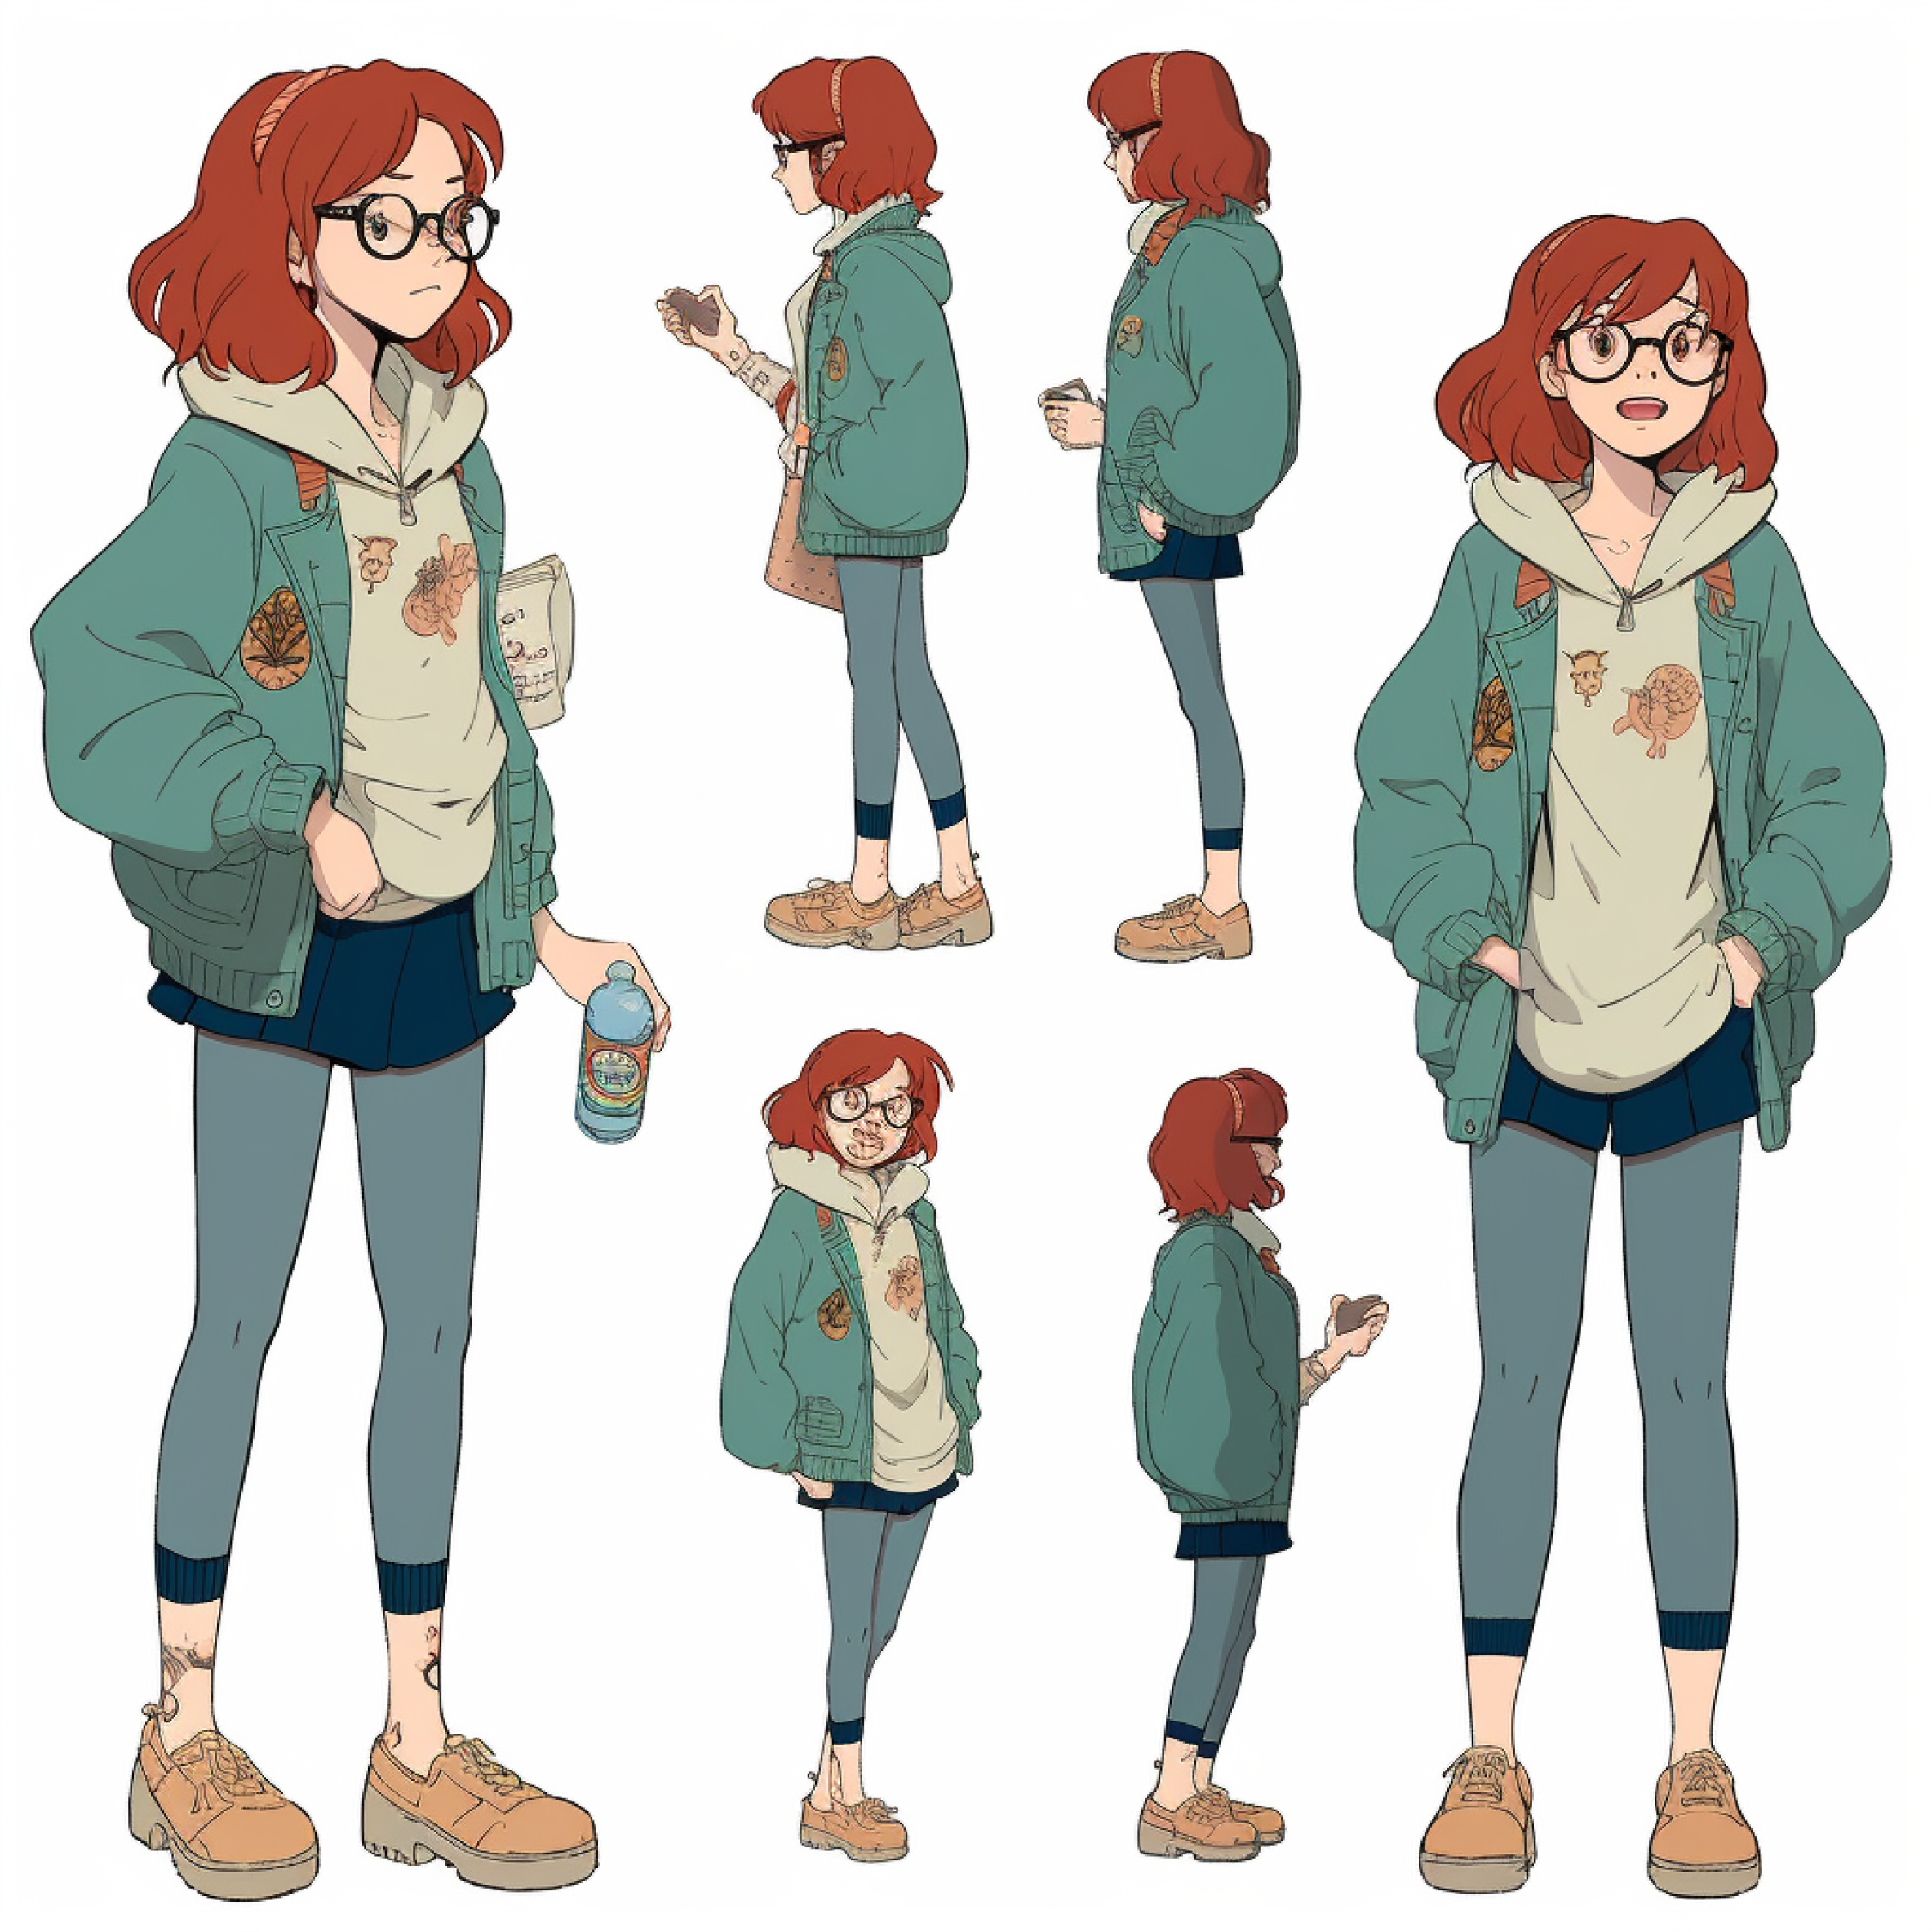
Until now we had some great MidJourney concepts, but as previously stated, for the Blender facebuilder plugin, we identified the need for multiple images capturing the face from various angles, emphasizing visible eyebrows while maintaining a neutral expression and unaltered facial expression and style.
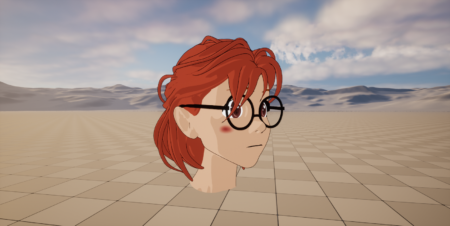
For fun, I tried putting in the existing reference we got in FaceBuilder, showing the importance of correct reference pictures.
Creating usable reference pictures
So I needed to attempt to create usable reference pictures to align the face with while staying consistent with the style.
Attempt 1 and 1 and a half: Projecting existing reference onto a 3D object, featuring img2img and Ebsynth
I started off with a basic 3D face model that I found online. To get pictures from all around the model, I transformed it into an image sequence capturing a complete 360-degree rotation around its axis. Excited to apply our new style, I imported the sequence into img2img Deforum, accompanied by one of the existing MidJourney reference pictures.
Unfortunately, much to my disappointment, this approach didn’t deliver the desired results. Undeterred, I experimented further by combining reference pictures with a stylized rotating head video in Ebsynth. Revising it afterward, it came as no surprise that this technique also fell short of meeting our requirements.
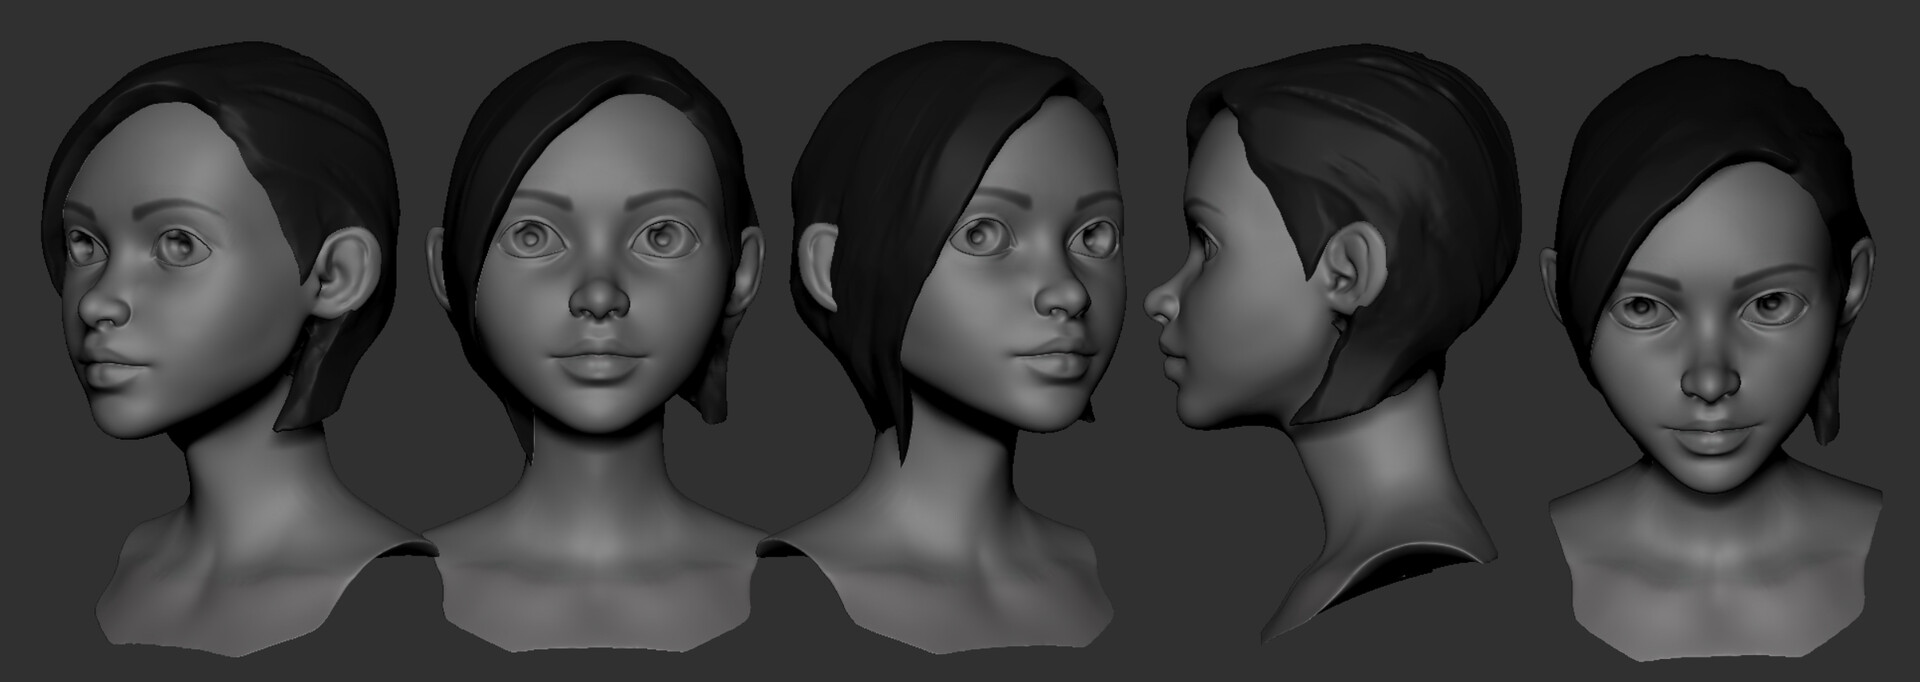
Attempt 2: Using a stylized character as a base
Within the FaceBuilder tool, I imported a collection of images portraying a freely available stylized character that I came across online. These images proved to be a valuable resource as they enabled me to align and enhance the facial features, resulting in a successful stylized facebuild!
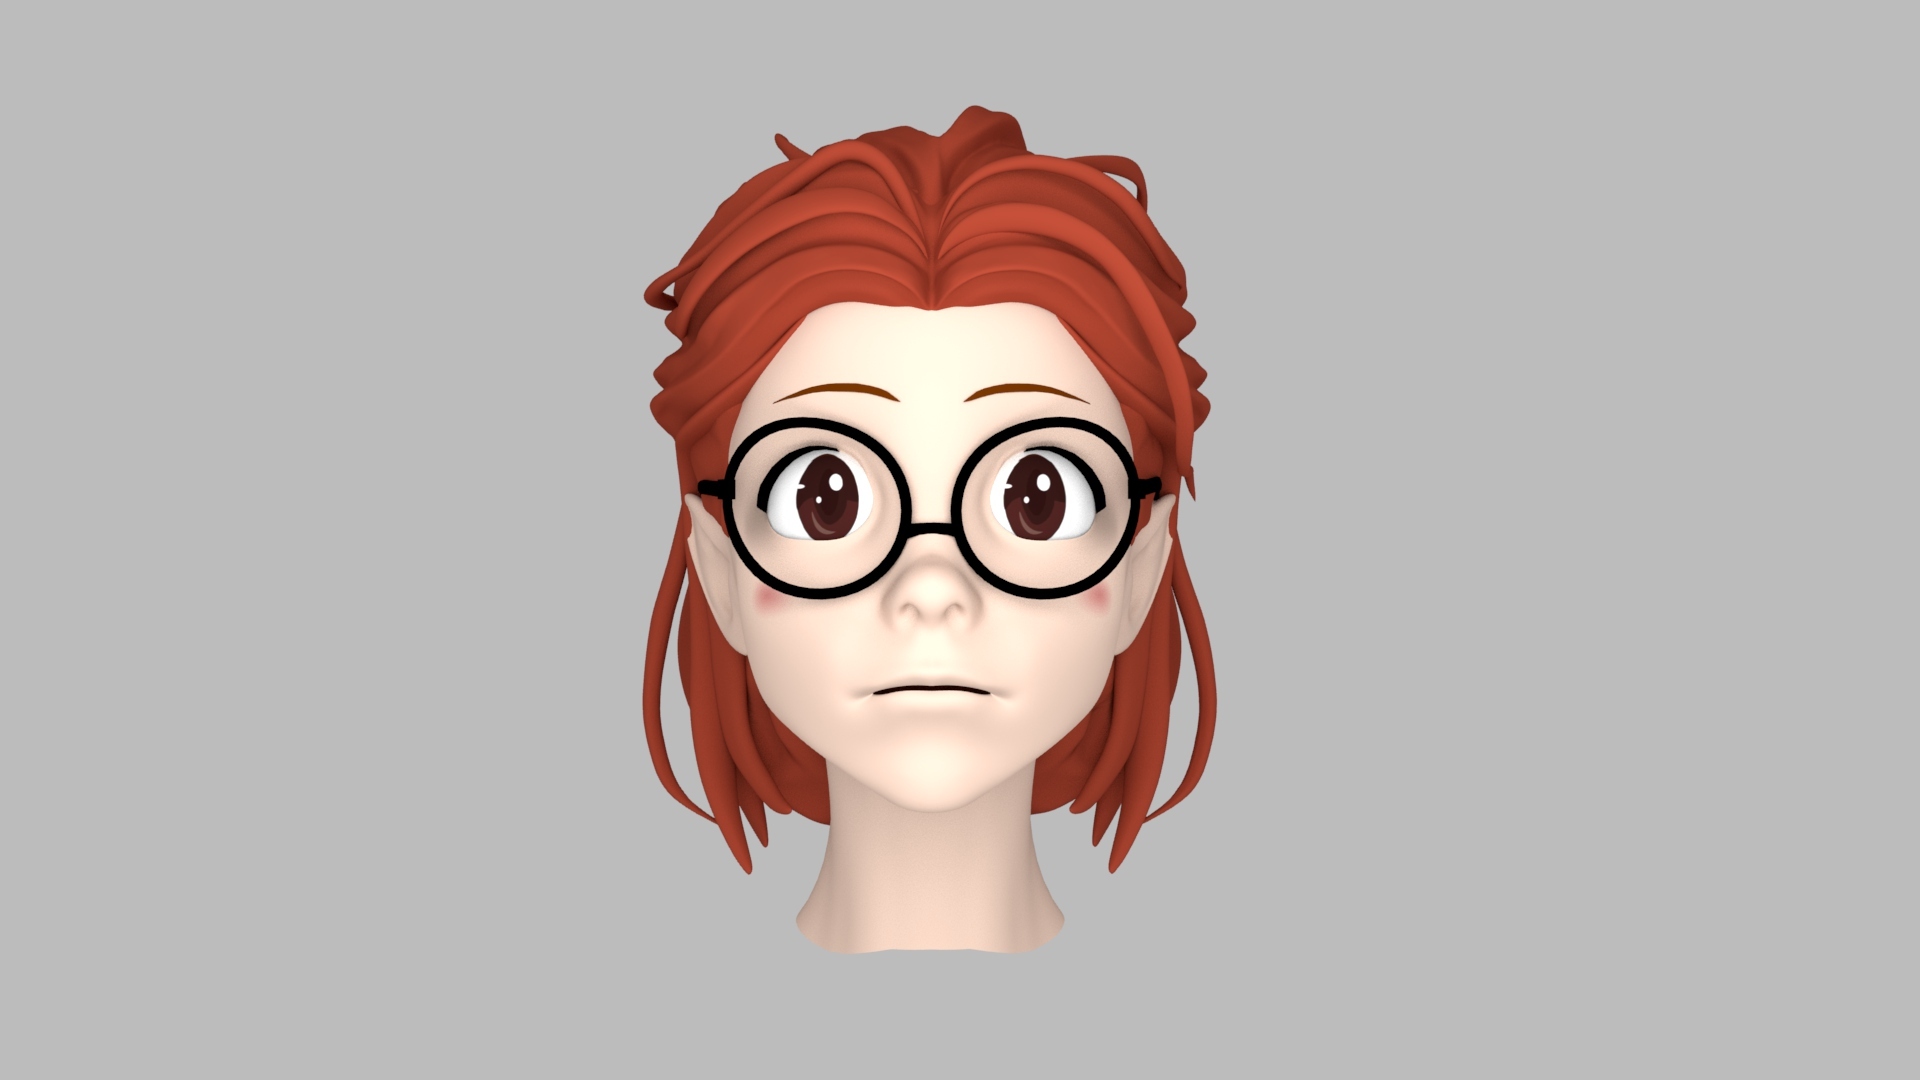
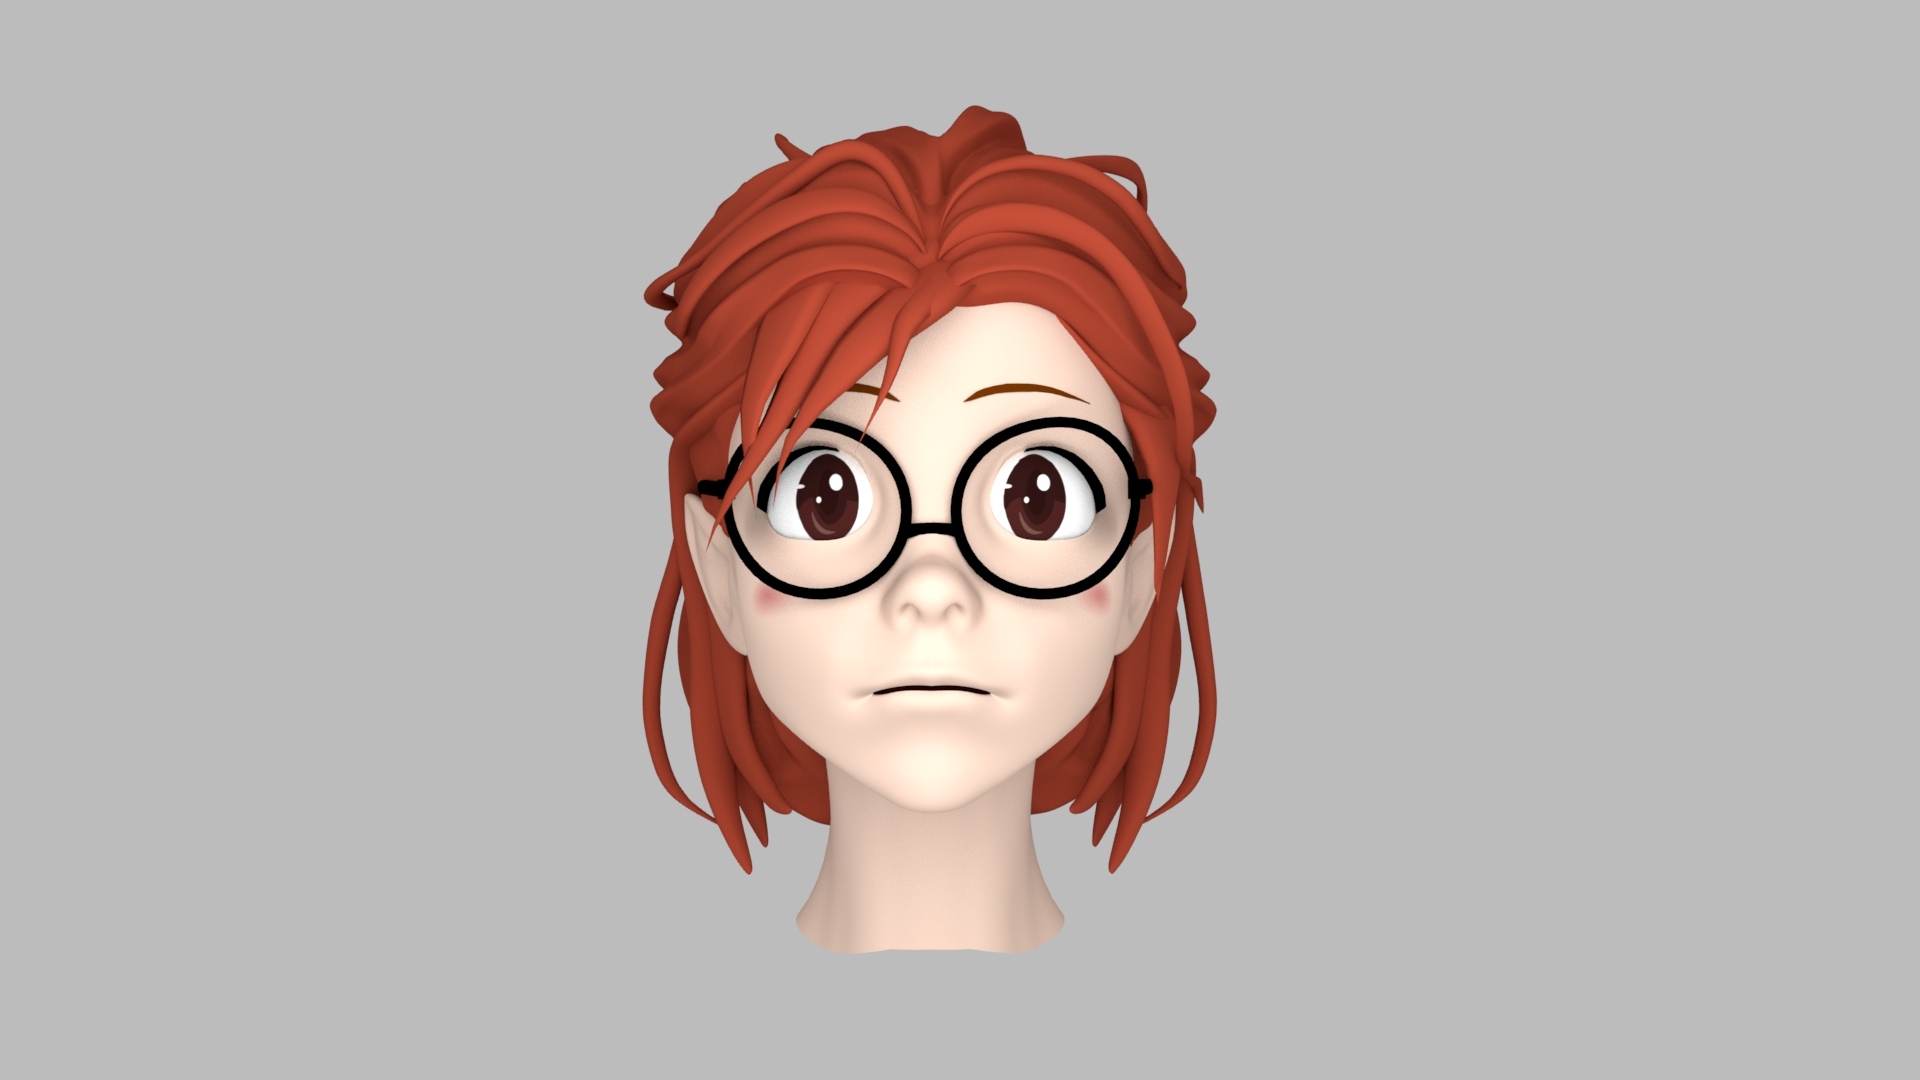
Phases of faces
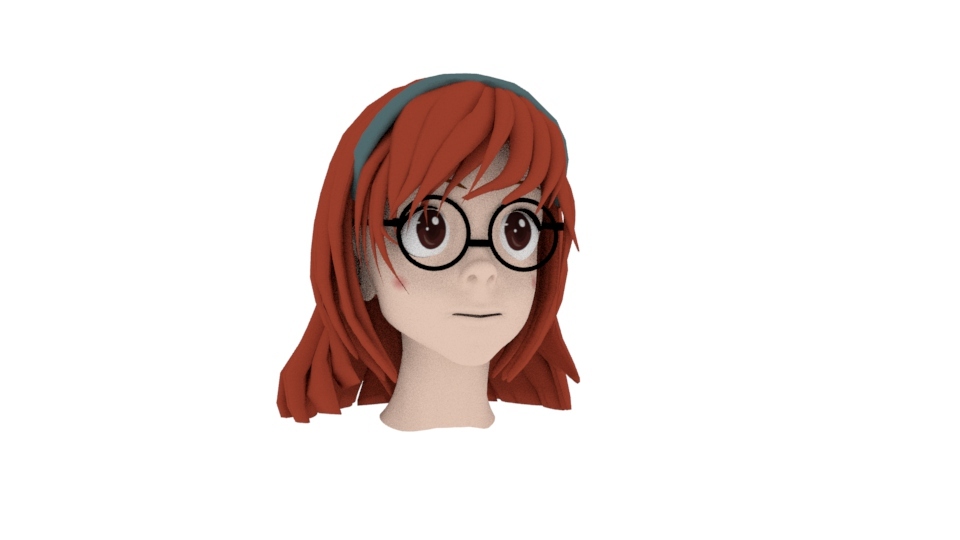
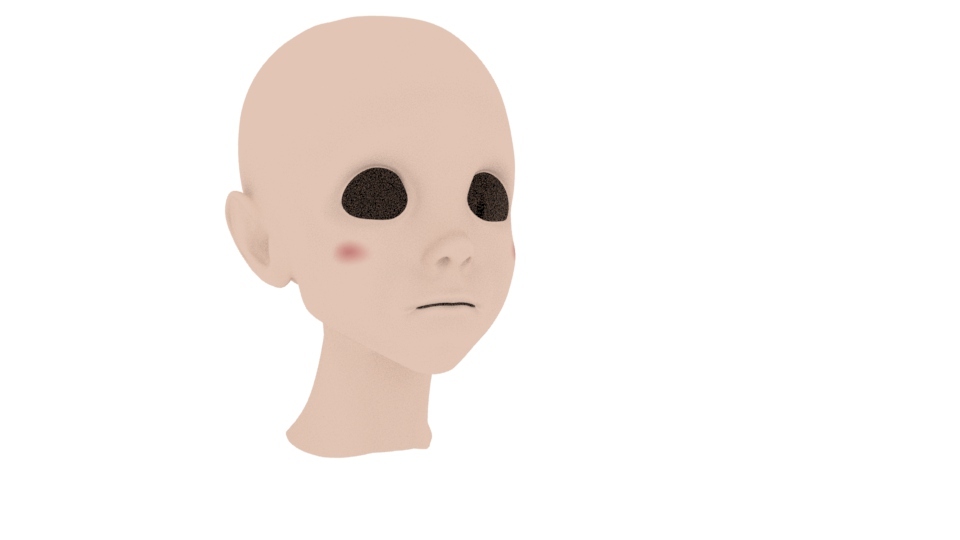
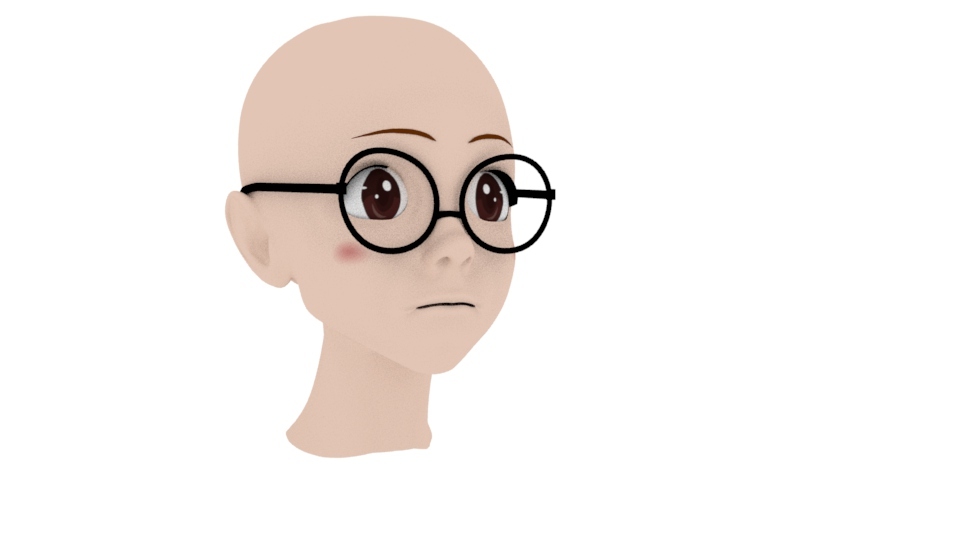
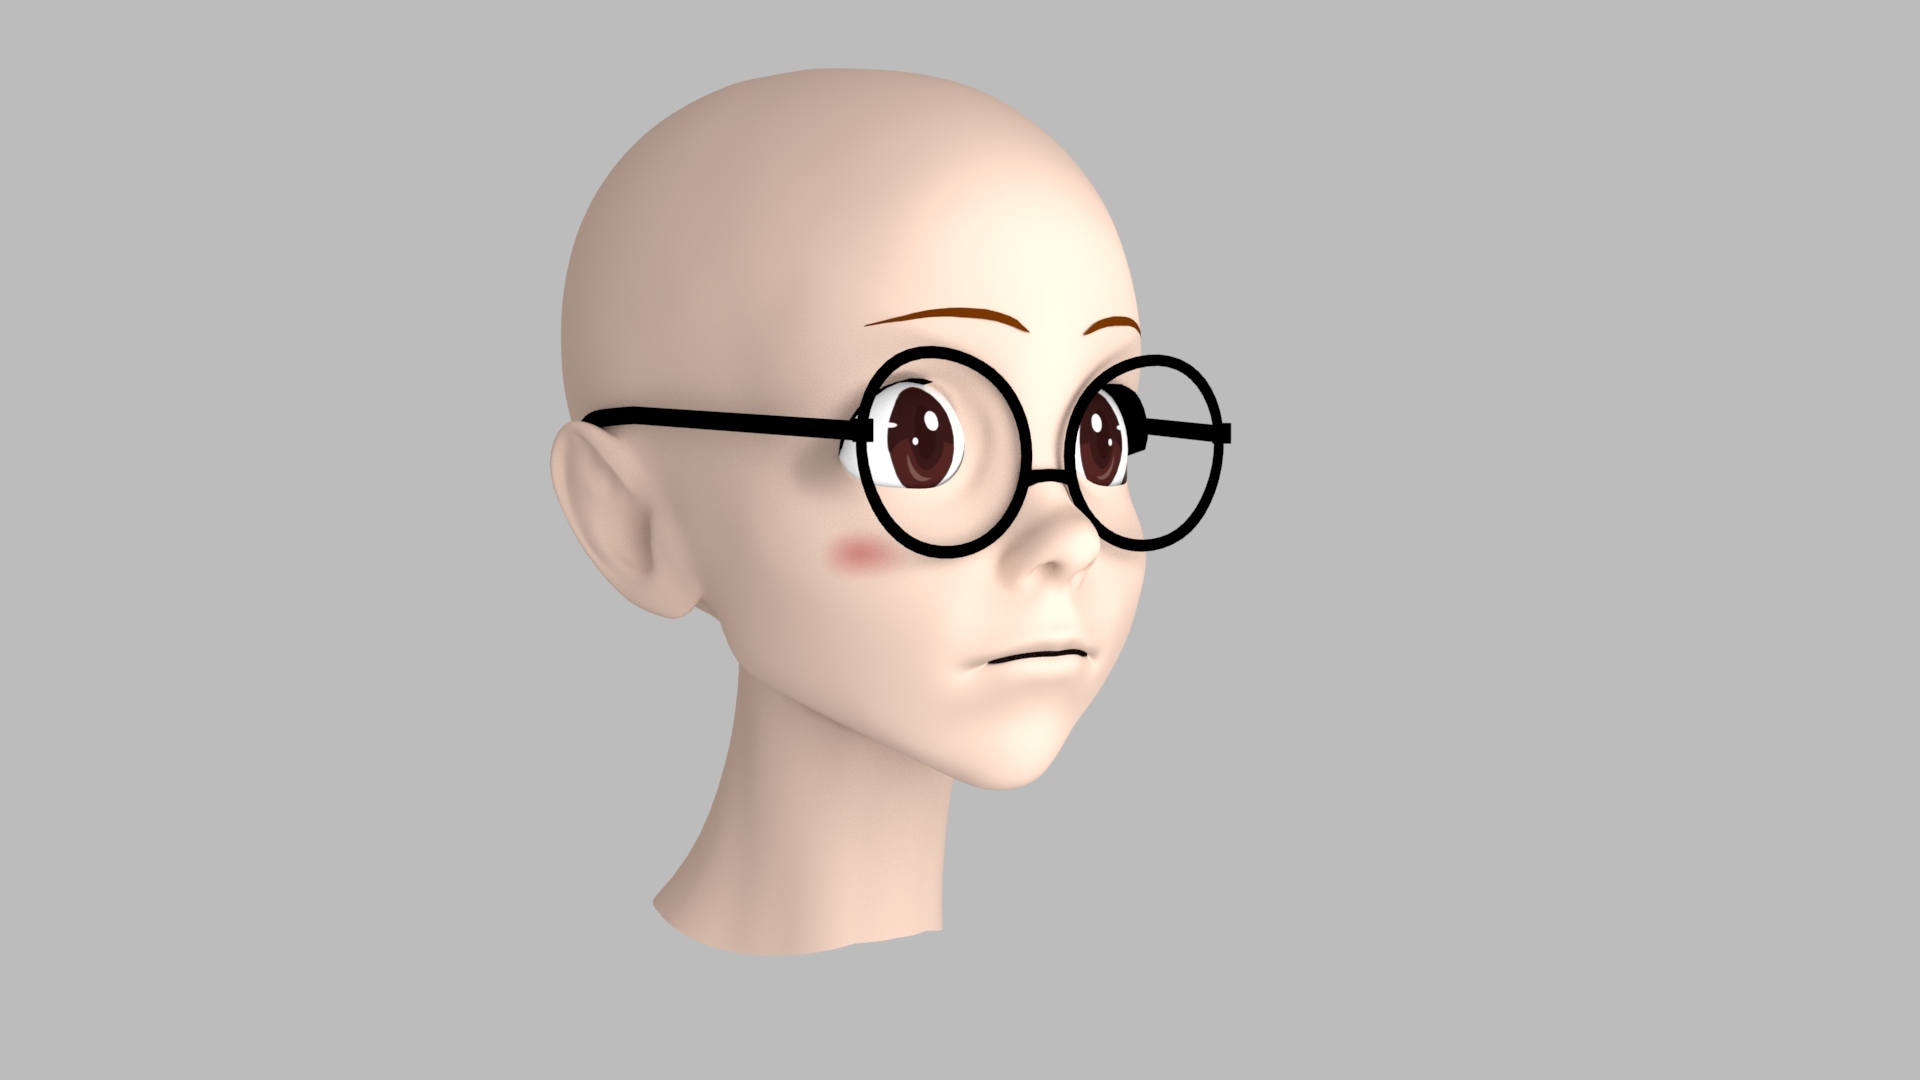
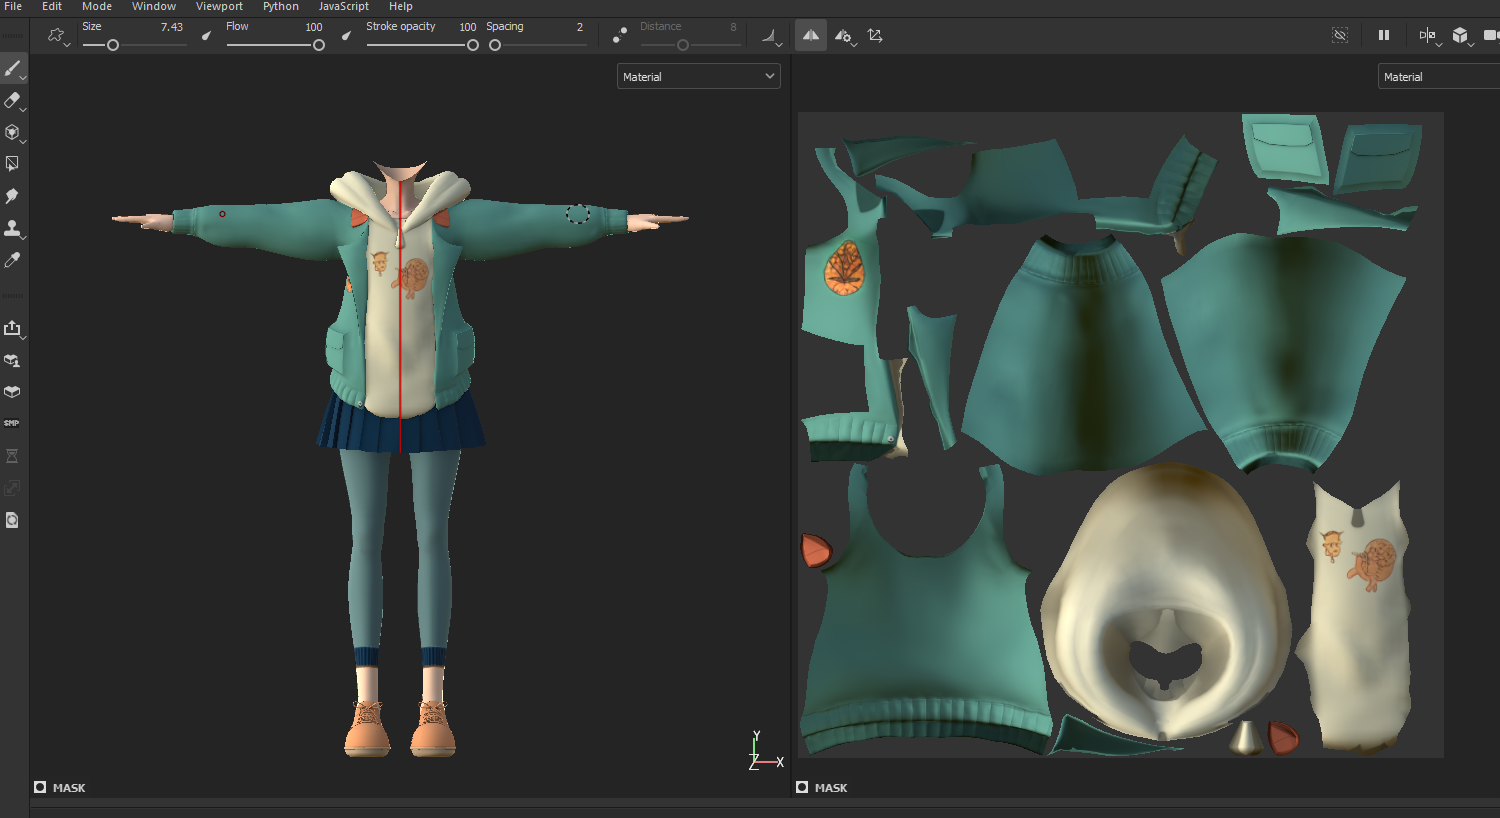
With the foundation in place, the next step was to infuse our own creative touch. Transitioning to Autodesk Maya, I started a process of manual sculpting, UV mapping, and texturing, tailoring the model to align with our desired style. This phase underwent its own evolution, evolving alongside the project itself.
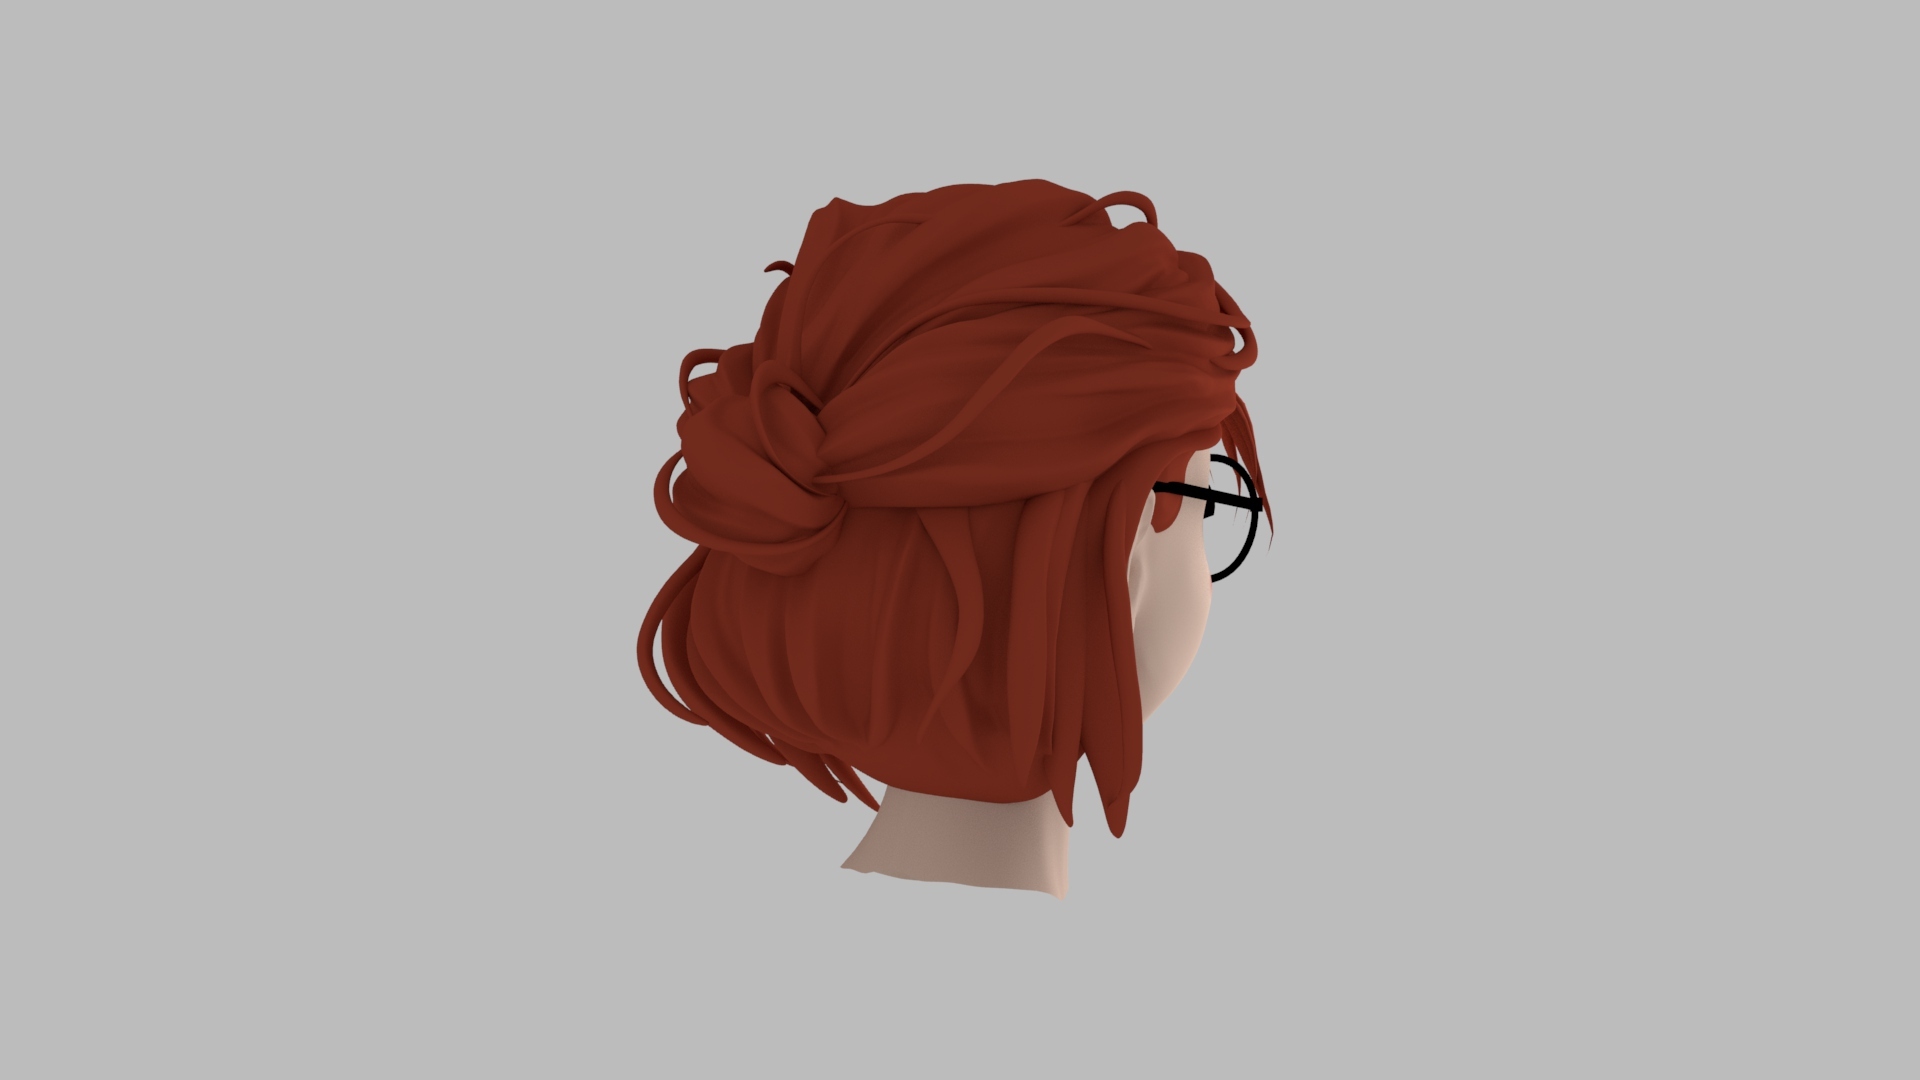
As for the hair, we realized the need to revisit our approach. Utilizing hair cards for physics simulation proved to be computationally expensive. Our vision was to have the hair elegantly styled in a ponytail or bun rather than hanging freely. Even at this stage, we remain open to reconsidering our options for achieving the desired hair effect.
Unreal Engine - Shading
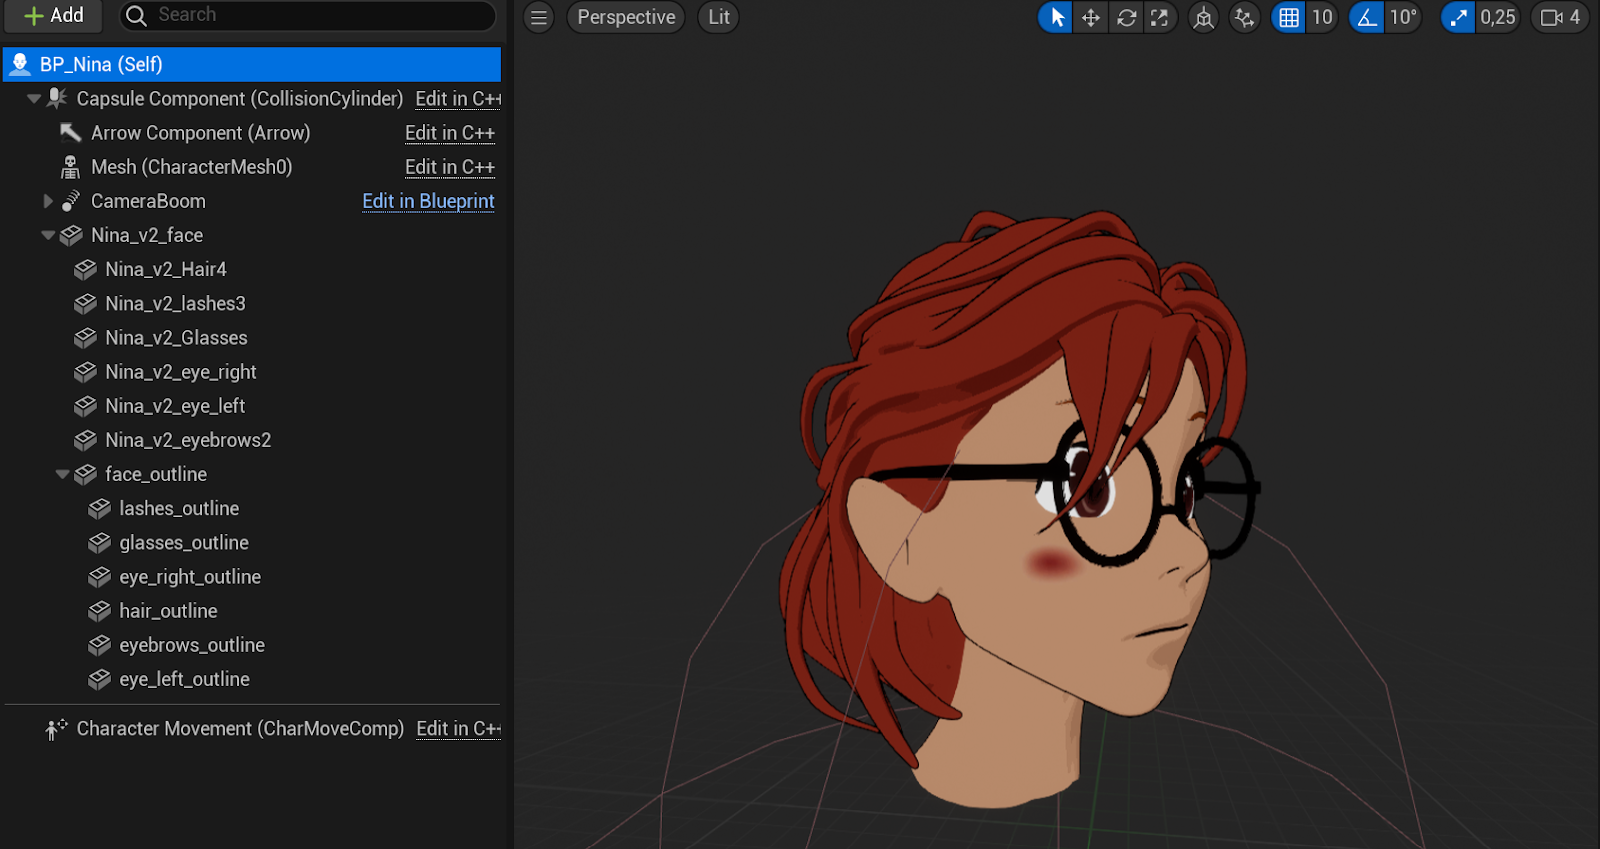
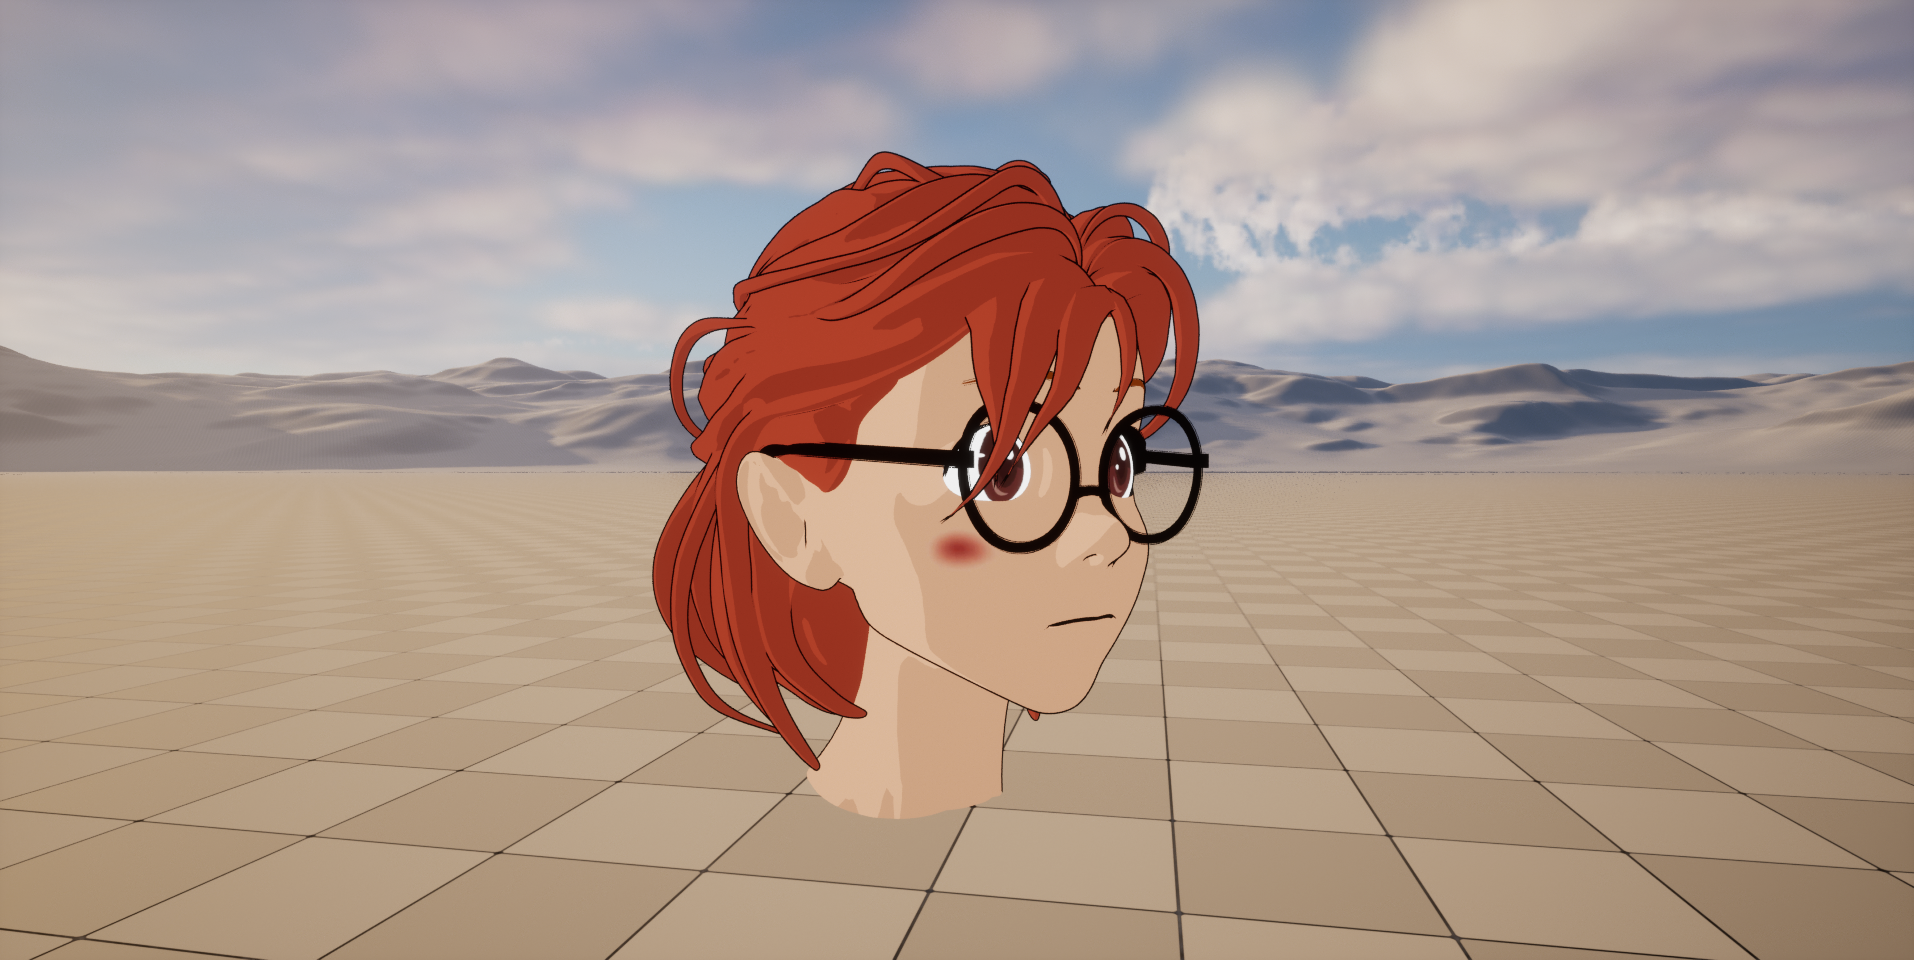
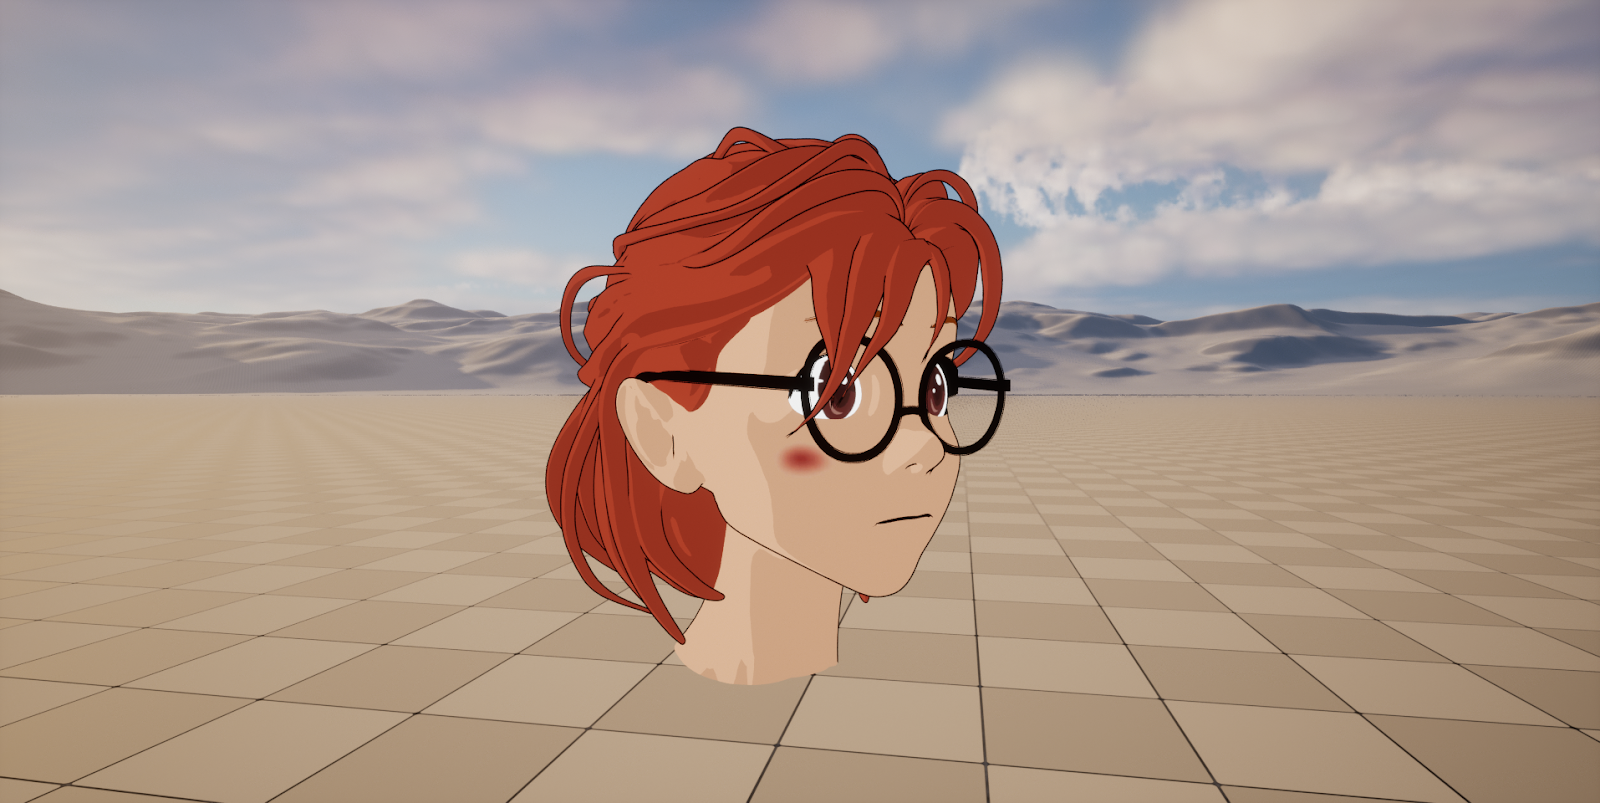
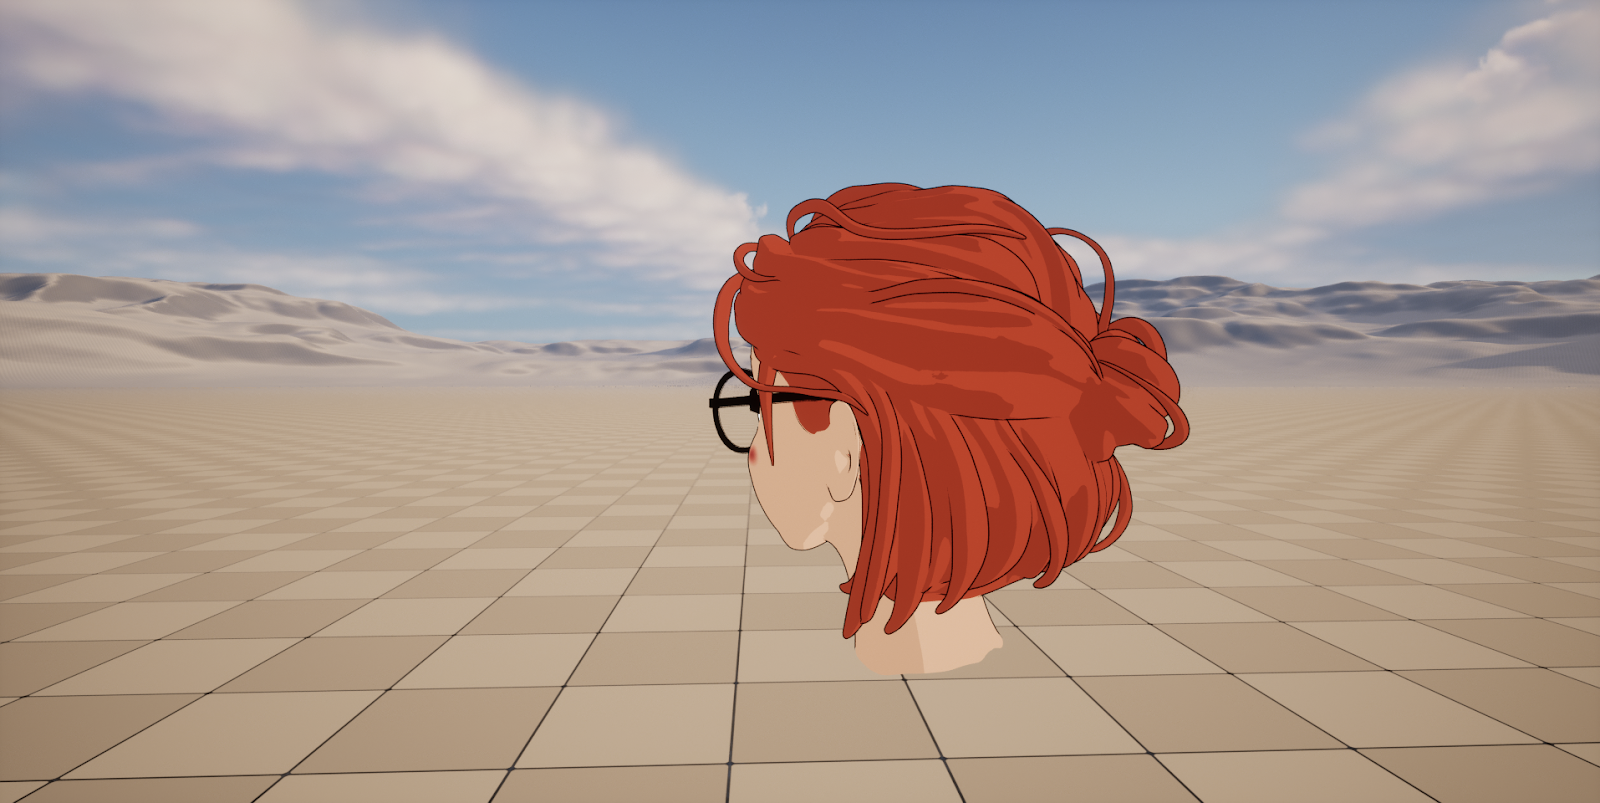
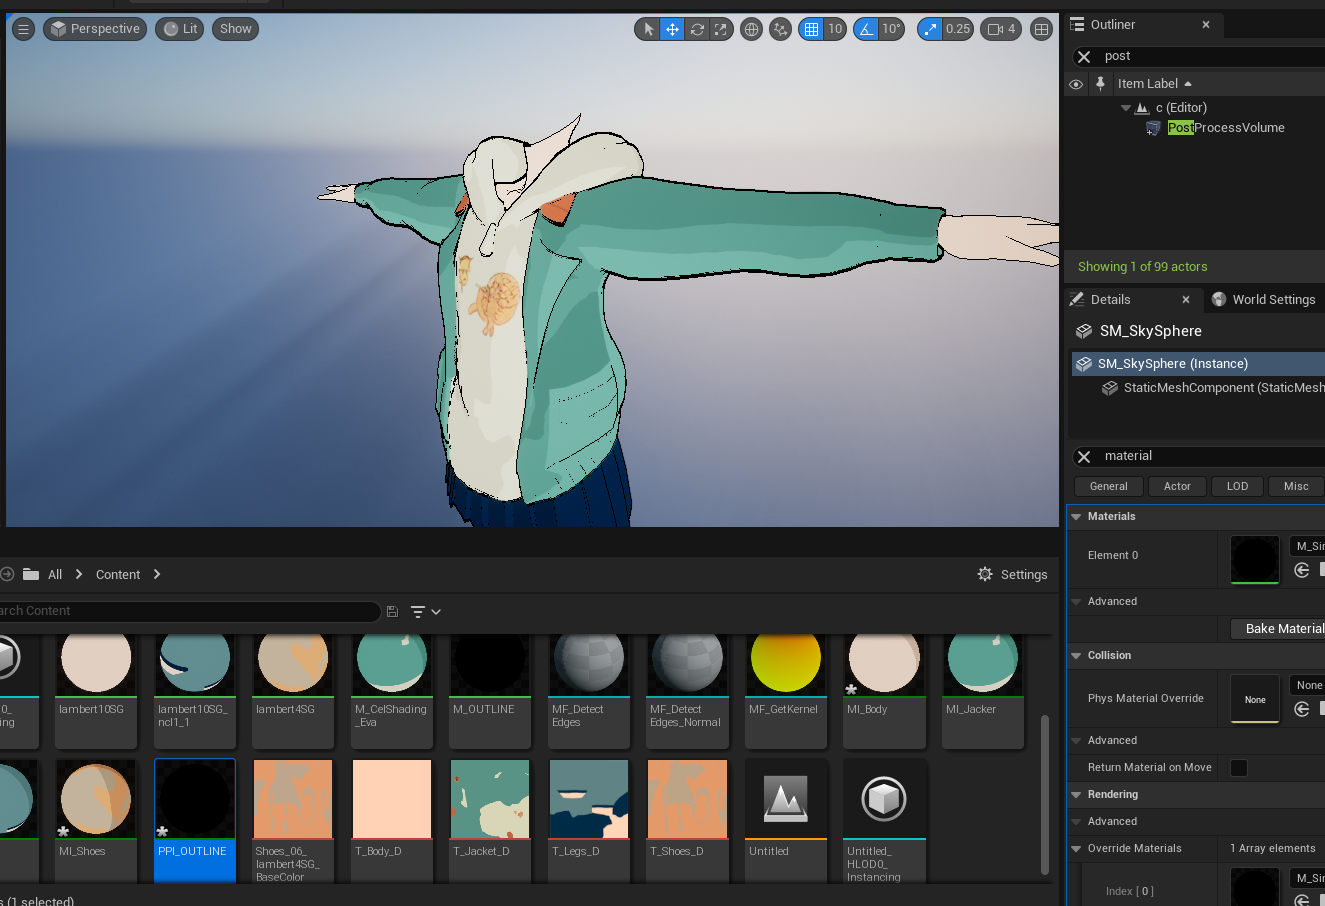
One of the defining aspects of our desired style is its “drawn” appearance. Our objective is to achieve a 2D aesthetic within the 3D space, complete with flat shadows and a black outline. To achieve this look in the 3D realm, toon- or cel-shading techniques are commonly employed, but they can be computationally expensive. However, we managed to obtain a cel-shading-like outline on the character or object without relying on the post-processing volume.
Instead, we devised a workaround by duplicating the character mesh in the blueprint. The duplicated mesh beneath was assigned an outline material, effectively generating the desired black line. On top of this, the duplicated mesh was given a flat material, allowing us to later apply procedural unlit shadows as needed.
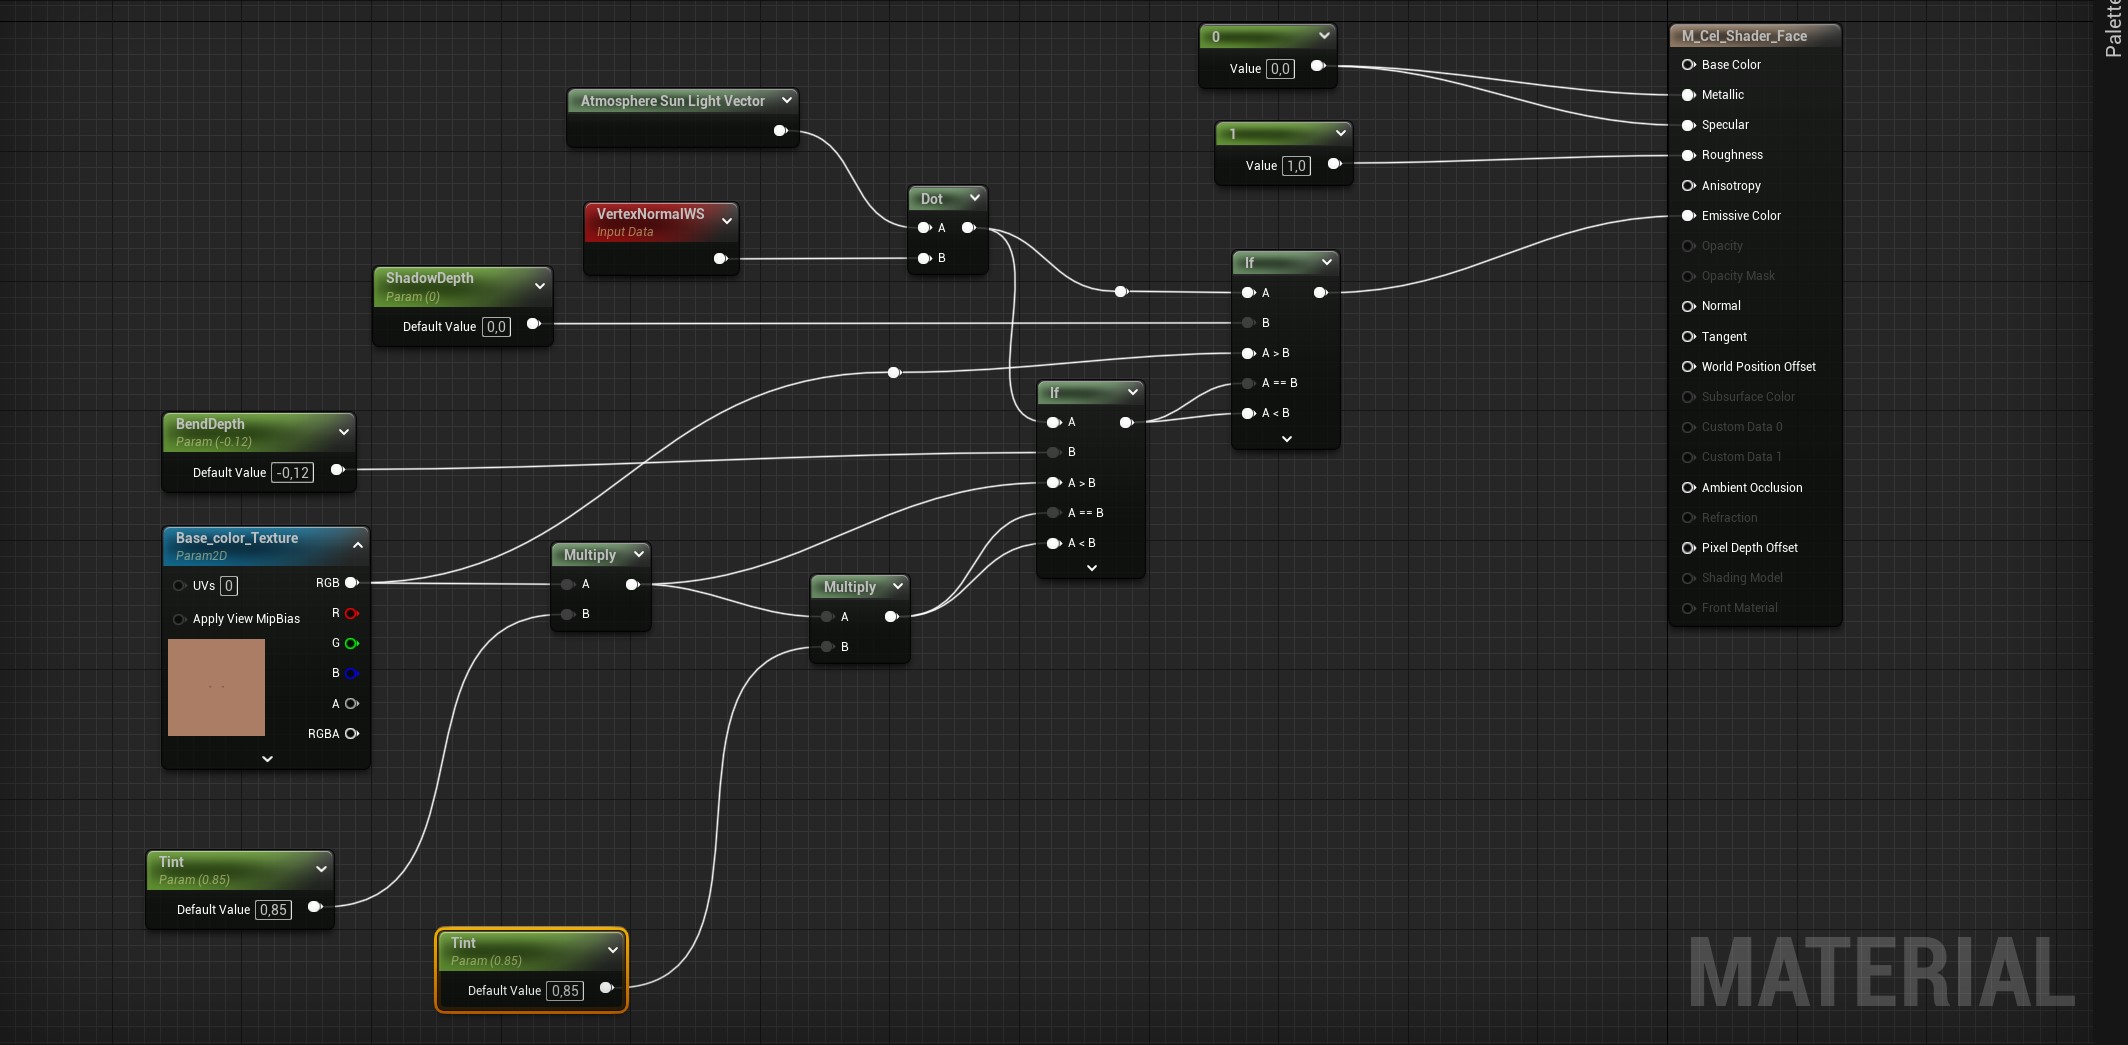
This material type has some fascinating characteristics that are worth a bit more explanation, particularly when it comes to the functionality of the nodes involved.
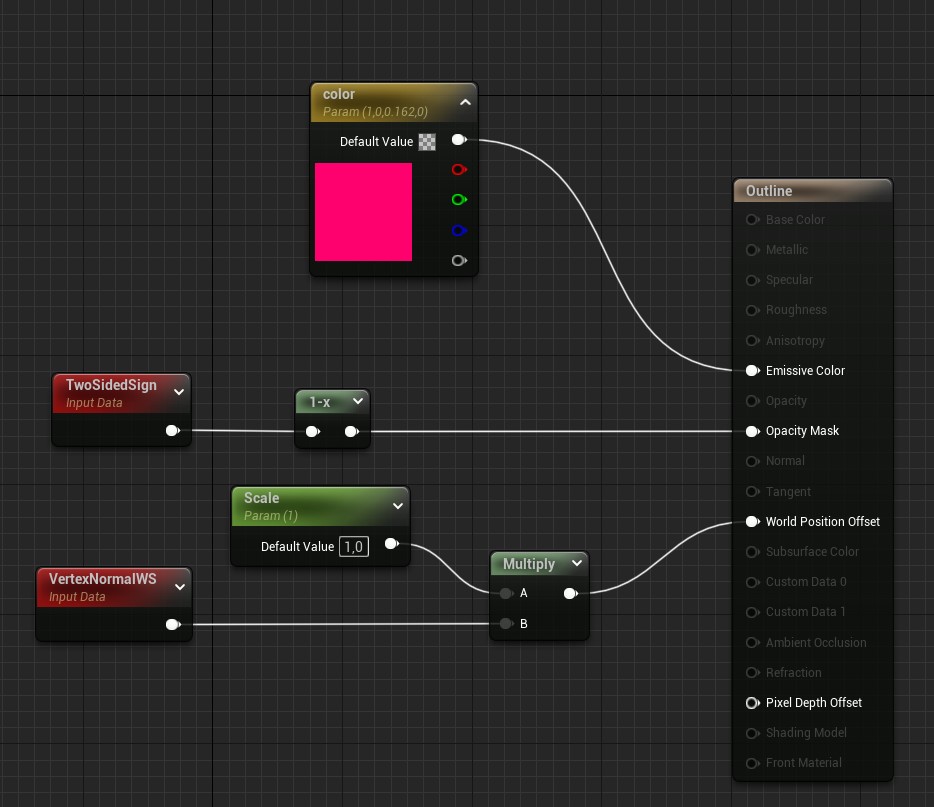
The two-sided sign plays a crucial role in determining how the material faces. When set to a positive value (1), the material maintains the same appearance on both sides of the surface. However, using a negative value (0) causes the material to reverse its facing direction, making it visible from the opposite side of the surface as well. This creates a distinctive ‘culling’ effect.
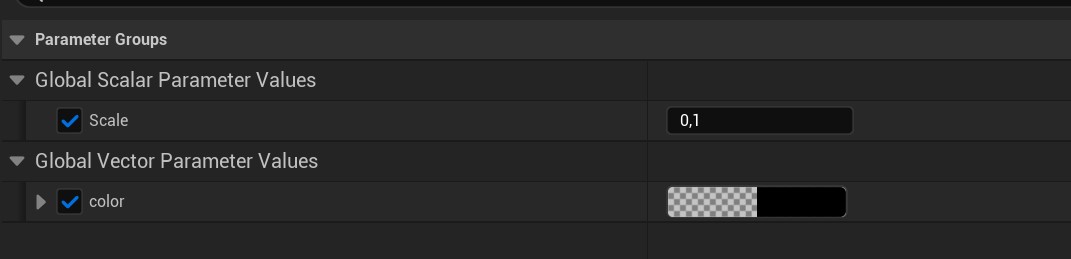
To manipulate vertex positions, we rely on the VertexNormalWS node. This node provides the surface’s normal direction for each vertex in world space, determining the orientation of the surface at that specific vertex. By multiplying this value by the scale parameter, which represents a scalar value determining the strength or intensity of the effect, we can control the extent of displacement applied to the vertices. This, in turn, allows us to adjust the linewidth.
A second set of shaders: shadow effect
Afterward, we developed a custom shader to achieve a shadow effect while maintaining the desired flat appearance.
Additionally, to enhance the sculptural depth, I introduced an additional band.
As mentioned earlier, leveraging the VertexNormalWS allows us to dynamically alter the material’s appearance on the mesh based on its position within the scene. This procedural approach adds an extra level of visual interest and adaptability to the material.
Rigging and Blend Shapes
As we delved into the rigging and blend shapes for our custom face creation, several important considerations come to our minds. Choosing to build the face from scratch means we will need to develop the facial rig and blend shapes ourselves, rather than relying on pre-existing skeletal meshes or MetaHumans.
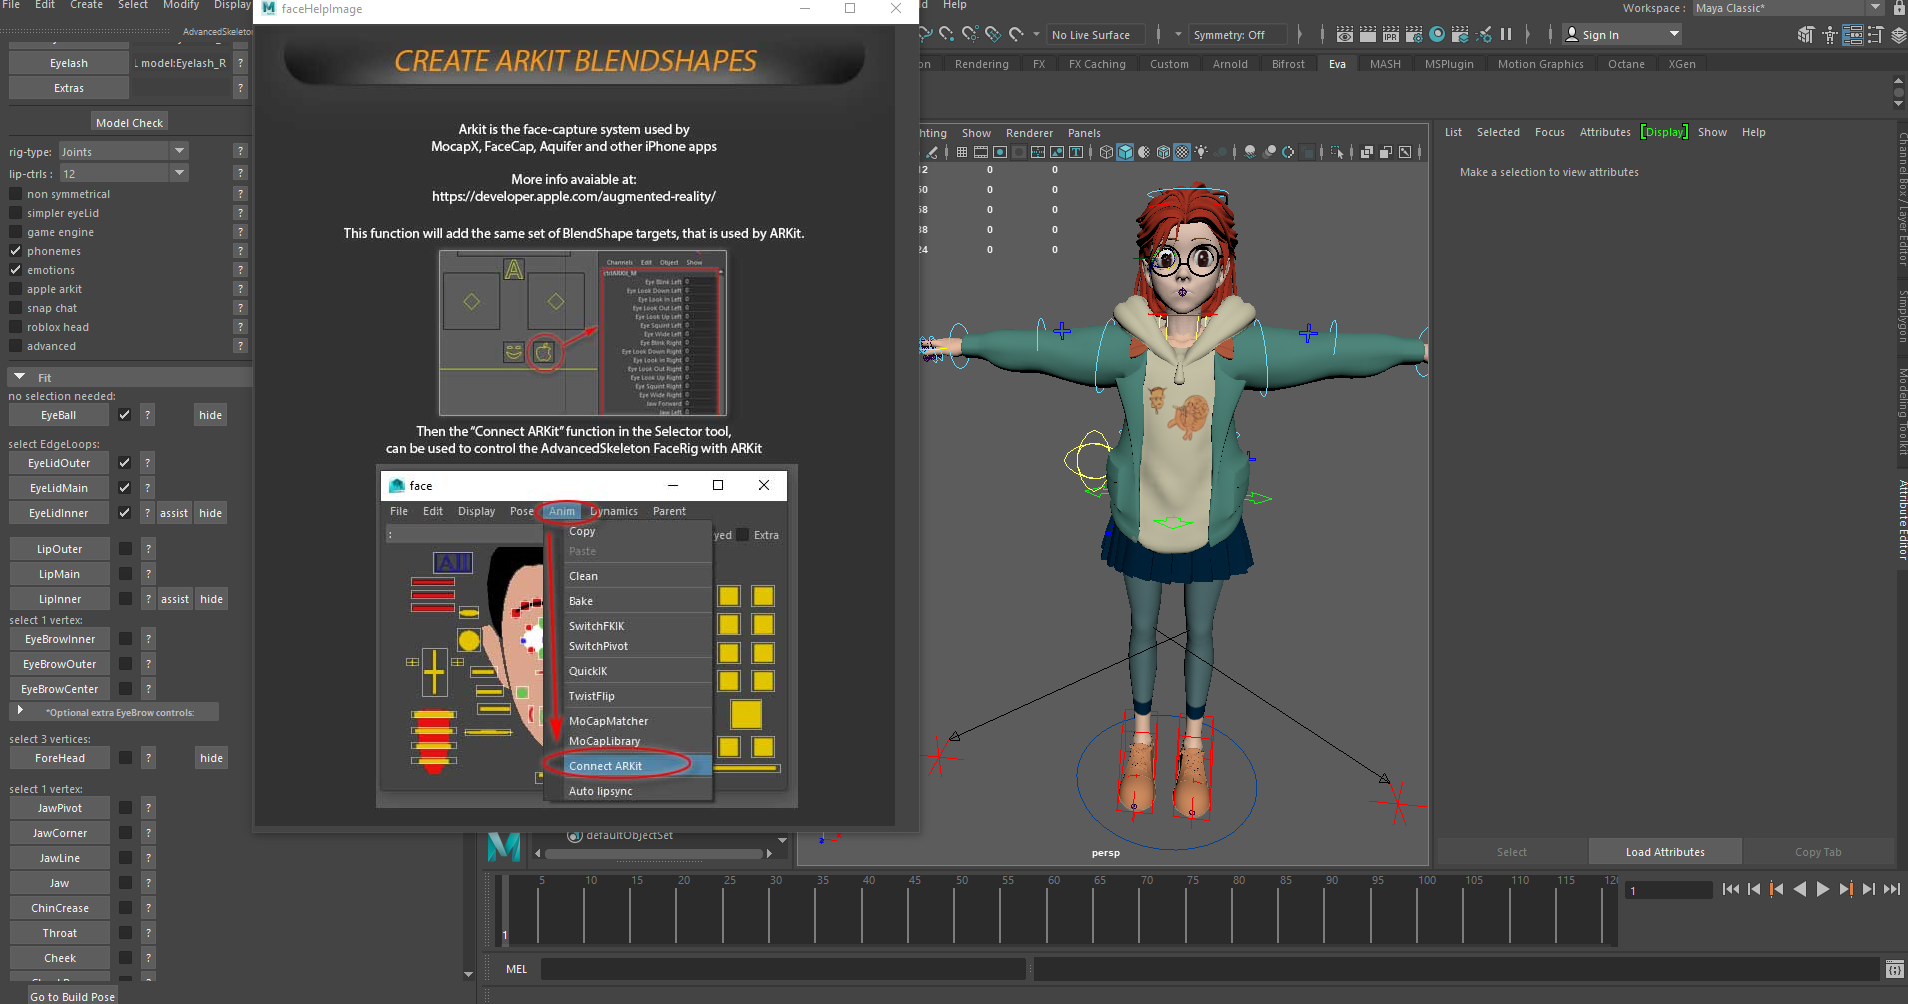
Rigging Possibilities: Auto Riggers
To streamline the rigging process, we explored the potential of using the auto rigger tool available in software like Maya. This tool offers the possibility of automating certain aspects of rigging, potentially saving us time and effort. Eva played around with its features and connected it to a facial motion capture she took on her iPhone through an app called Face Cap. This made it clear the face needs some rework to be able to properly animate.
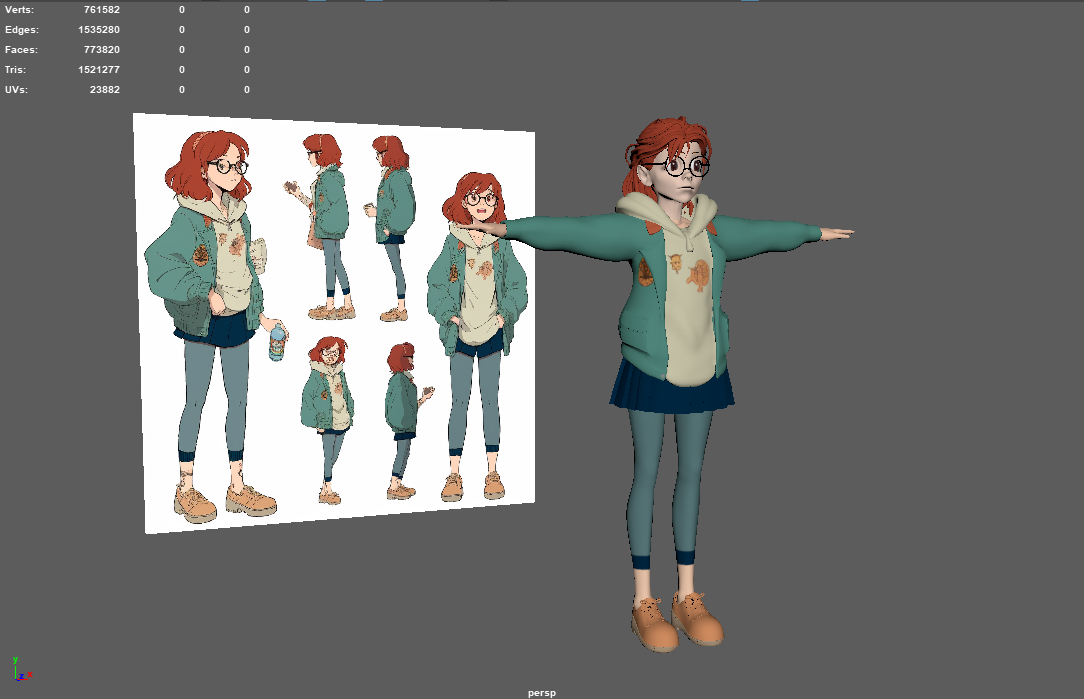
Creating a body
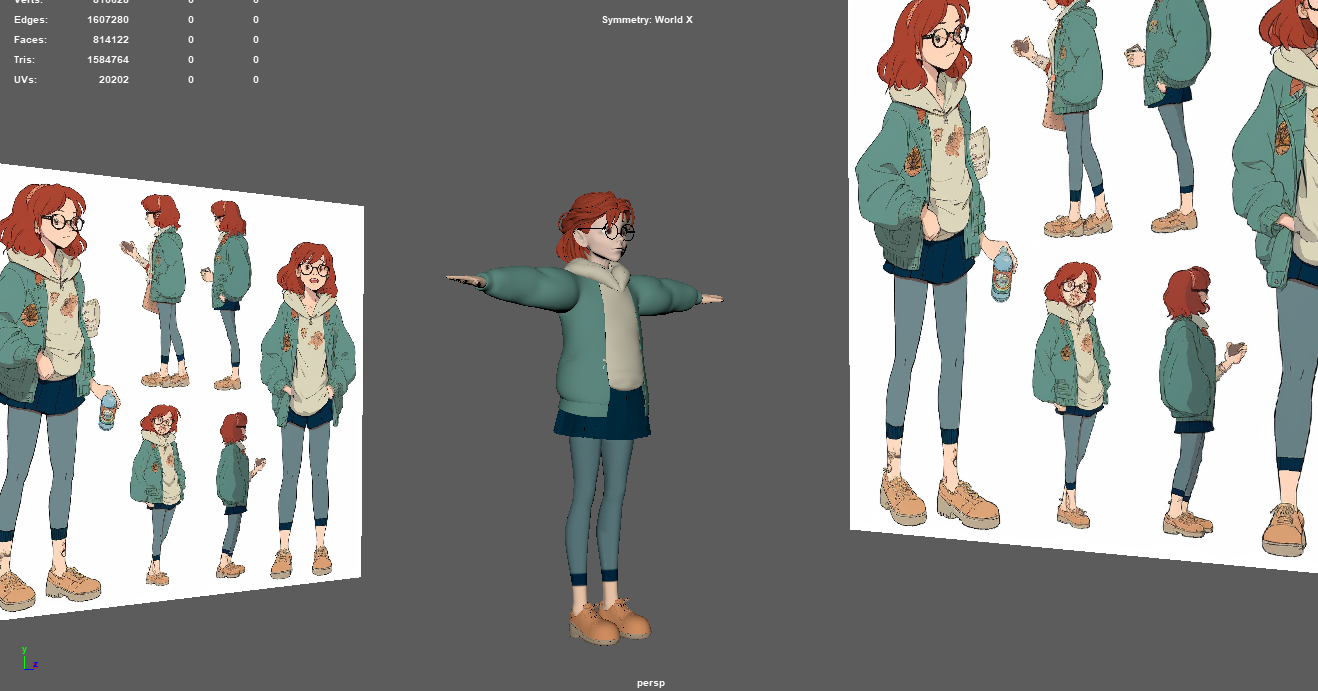
We decided to sculpt Nina’s body from scratch, to have full control over capturing her essence.
However, upon using the auto rigger tool, it became evident that the body still needs some fine-tuning, and that we should take some additional aspects into account.
One aspect that poses challenges and warrants careful consideration is clothing. While the baggy clothes may look aesthetically pleasing when the character is stationary, they present animation difficulties, particularly when dealing with physics simulations. To address this, it would be better to explore alternatives and opt for less baggy clothing options.
The Next Steps
As we navigate the exciting journey to find Nina, our focus now shifts towards the rigging process and creating the body.
With the sculpting and rigging considerations in mind, we are dedicated to exploring the best approach that aligns with our goals, time constraints, and the desired aesthetic.
 English
 Español